ShopDreamUp AI ArtDreamUp
Deviation Actions
Description
written by ~cypherxaint
* THE BEGINNING
[link] click on the link for a full view and detailed explanation
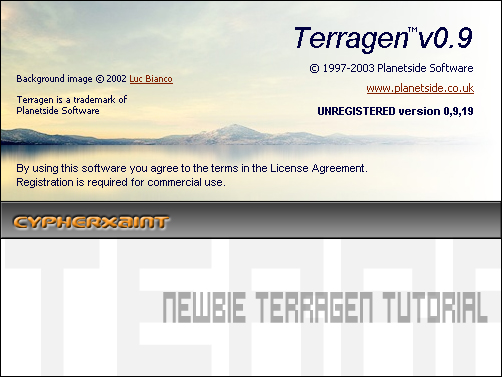
This is how terragen looks like when you start the program, first I am going to explain the square buttons on the left:
1st button: “rendering control” window, as you can see this window is already opened.
2nd button: “landscape” window, this window is also already opened.
3rd button: “water” window.
4th button: “cloudscape” window.
5th button: “atmosphere” window.
6th button: “lightning conditions” window.
7th button: “last rendered image”
In this tutorial I am going to explain what you can do in all these confusing windows and we will start with the second window, the “landscape” window.
* GENERATING LANDSCAPES AND ADDING SURFACE MAPS
To render a 3d landscape in terragen you must first generate or open a terrain. I am going to explain how to generate a terrain in terragen now:
1st In the “landscape” window click the button “generate terrain” a new window pops up “terrain genesis”.
2nd In this window we will first select a “method” the standard method is “ Subdivide & Displace II” but I prefer the “method” “Perlin Noise” select this one.
3rd Now we are going to the right side of the window “terrain genesis” here you see five slidebars the first two slidebars you can only use with the “ method” “Subdivide & Displace II” now, by adjusting the 3rd slidebar called “ Glaciation” you give your terrain pointy mountains. By adjusting the 4th slidebar called “Canyonism” you give your terrain deep canyons. Play around with these slidebars to get different kinds of terrain.
4th Now we are going to look at the 5th slidebar called “Size of Features” If you set this slidebar to max you’ll get one big mountain, if you put it to min you’ll get lots of small mountains, for now you can let this slicebar as it is.
5th now on the left side of the window “ terrain genesis” you click the button “ generate terrain” and see what happens, you can now close the “terrain genesis” window.
[link] click the link for a full view, these are the settings I used.
Now you have a terrain, but there is no grass or rock or anything on it, this is where we come to the surface maps:
1st Under the heading “surface map” click the button “open” choose one of the .srf files, for example, “ RedDesert2.srf” well, that’s it for now, more explanation about the surface maps will follow later.
[link] click the link for a full view, this is how your window should look like now...
* RENDERING YOUR FIRST LANDSCAPE
You know have a landscape, now you need to know how to render it, you’ll find all the rendering settings in the “ rendering control” window: But, before we are going to mess around with these settings we are going to choose the right camera spot!
1st click on the button “view/sculpt” in the “landscape” window, a new window pops up, the “landscape view/sculpt” window. You see a large map of your terrain, remember, this is a height map, white things are mountains, black things are valleys.
2nd you can choose your camera position by clicking in this height map with your left mouse button. And you can choose your target position by clicking in the height map with your right button.
NOTE take care that there is no mountain right in front of your camera postion or you will see shit, there must always be some space between your camera position and the mountains.
Okay, now take a quick look if you like your camera position, go to the “ rendering control” window and click the button “render preview”
[link] click the link for a full view, this is how your window should look like now...
Right, so now we are going to do the real rendering controls, you can stay in the “rendering control” window:
1st adjust the detail, under the “ render preview” button there is a slidebar “detail” set it to max, now make a new render preview by clicking the “render preview” button.
2nd under this slidebar “detail” there is a button “render settings” click it, a new window pops up, you can see two slidebars; “atmosphere” and “cloud shading” set them both to max.
[link] click the link for a full view, this is what your window should look like now…
You can now close the “render settings” window.
NOTE see that you can also adjust the image size, however, only do this when you have lots of time, the bigger you make your image the longer it takes to render.
Okay, now you are ready to make your first render! The only thing you need to do is click the button “render image ” in the “rendering control” window.
A new window pops up, don’t do anything, give terragen the time to render your landscape, this may take a few minutes, depending on your computers speed and the settings you’ve used. When it is ready it says: “render complete” click “OK”
[link] click the link for a full view…
Now in the window “Image – [NEW]” click the button “save” and save your image! That’s it! You made your own 3d rendered landscape!
[link] it should look similar to this, if not, note me!
_______
That’s it for now, I will write the rest of the tutorial as soon as possible, in the mean while, take a look at my gallery [link] or the gallery of this great 3d artist `alyn [link]
Have a nice day,
~cypherxaint
Image size
502x377px 119.32 KB
© 2005 - 2024 cypherxaint
Comments13
Join the community to add your comment. Already a deviant? Log In
Thank you very much for this tutorial(:


